Want to change the WordPress database prefix for your website?
Updating the database prefix can help safeguard your site from SQL injections and other cyber threats, enhancing overall security.
In this guide, we’ll walk you through the process of changing the WordPress database prefix to strengthen your website’s protection.
Why Change the WordPress Database Prefix?
Your WordPress database acts as the brain of your website, storing all essential data and files. Because of this, it’s a prime target for hackers and spammers who use automated scripts to execute SQL injection attacks.
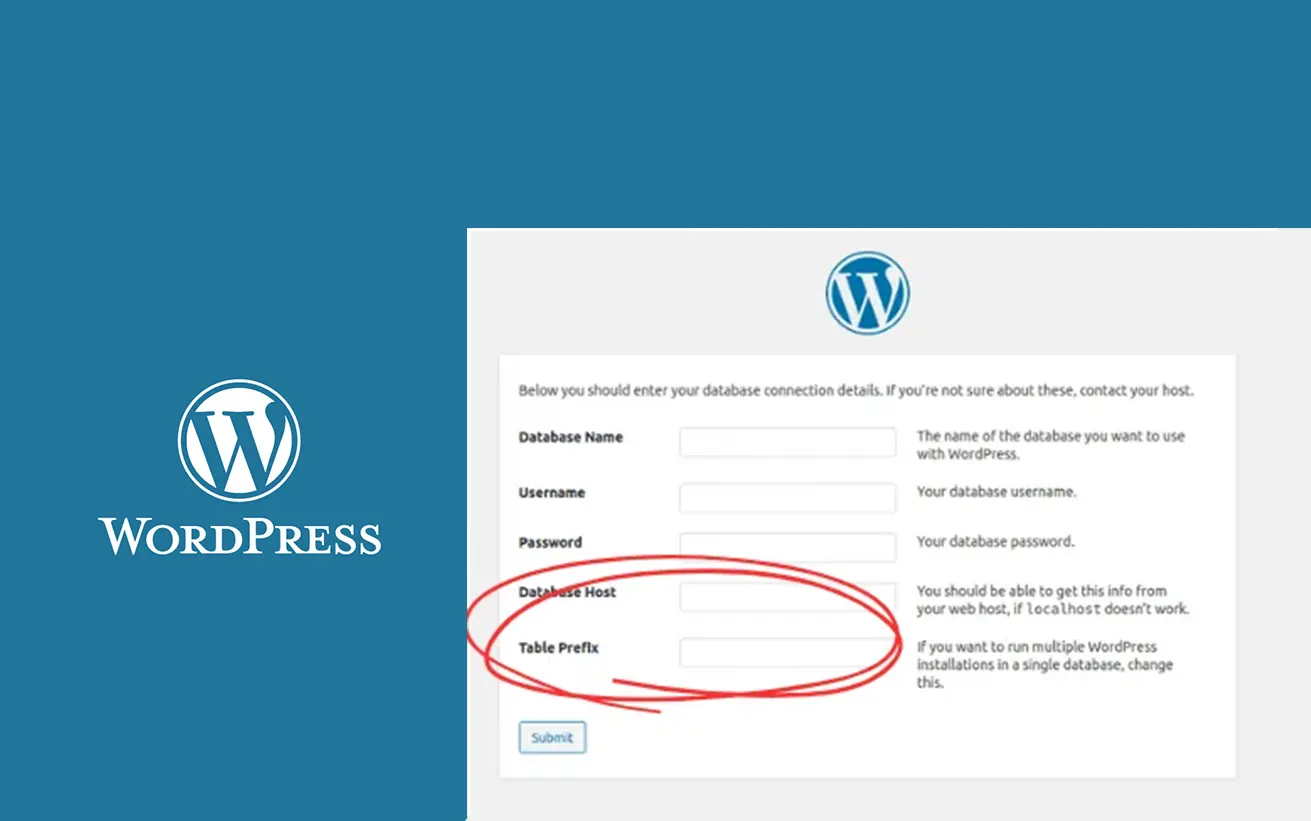
Many users overlook changing the default database prefix (wp_) when installing WordPress, making it easier for hackers to launch large-scale attacks.
One of the simplest ways to enhance your site’s security is by updating the database prefix—especially if you’re setting up a new site.
For existing websites, changing the database prefix requires a few extra steps to avoid potential issues. In this guide, we’ll show you how to do it properly to help protect your WordPress site.
How to Change the WordPress Database Prefix in WordPress
Changing the default WordPress database prefix (wp_) to something custom is a simple but powerful way to strengthen your website’s defenses against SQL injection attacks. Follow these steps carefully to do it safely—especially if your site is already live.
Important: Before making any changes, back up your entire WordPress site, including your database.
Step 1: Backup Your Site
Use a plugin like UpdraftPlus, Duplicator, or your hosting provider’s tools to create a full backup of your files and database. This will ensure you can restore your site in case anything goes wrong.
Step 2: Update the Table Prefix in wp-config.php
1. Connect to your site using an FTP client or use the File Manager in cPanel.
2. Locate and open the wp-config.php file in the root directory of your WordPress installation.
3. Find this line:
$table_prefix = 'wp_';
4. Change 'wp_' to a custom prefix. Use only letters, numbers, and underscores. For example:
$table_prefix = 'wpx9a_';
5. Save and upload the file.
Step 3: Rename All Database Tables
1. Open phpMyAdmin via your hosting control panel.
2. Select your WordPress database.
3. Rename all tables that start with wp_ to your new prefix (e.g., wpx9a_).
For example:
wp_posts→wpx9a_postswp_users→wpx9a_users
You can do this manually or run SQL queries to automate it:
RENAME TABLE wp_posts TO wpx9a_posts;
RENAME TABLE wp_users TO wpx9a_users;
-- Repeat for all other wp_ tables
Step 4: Update Table References in the Database
Some entries inside your database may still reference the old prefix.
1. Run the following SQL queries to update options and usermeta tables:
UPDATE wpx9a_options SET option_name = REPLACE(option_name, 'wp_', 'wpx9a_') WHERE option_name LIKE 'wp_%';
UPDATE wpx9a_usermeta SET meta_key = REPLACE(meta_key, 'wp_', 'wpx9a_') WHERE meta_key LIKE 'wp_%';
2. Make sure to replace 'wpx9a_' with your chosen prefix.
Step 5: Test Your Website
Visit your site and log in to your WordPress dashboard. Click around to make sure everything is working correctly.
If something breaks, restore your backup and double-check the steps above.
Bonus Tip: Scan for Vulnerabilities
After changing the prefix, use a security plugin like Wordfence or Sucuri to scan your site and ensure everything is secure and functioning.